3. CHAPTER THREE ( Autocad Course )
Topic to be covered in chapter three are Modify Tools, Isometric View, Select, and Perspective Views.
MODIFY TOOLS
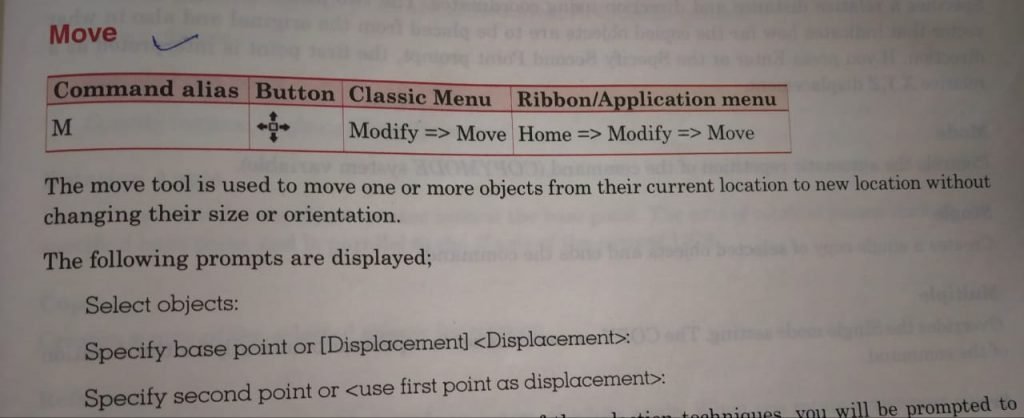
Move
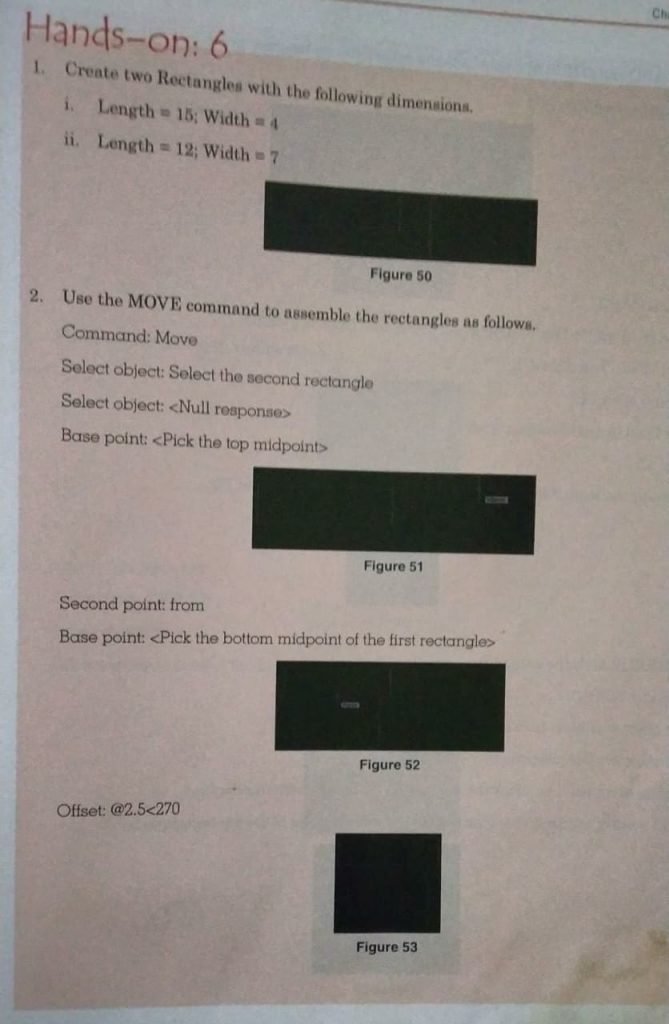
Move tool is used to move one or more objects from their current location to new location without changing their size or operation.
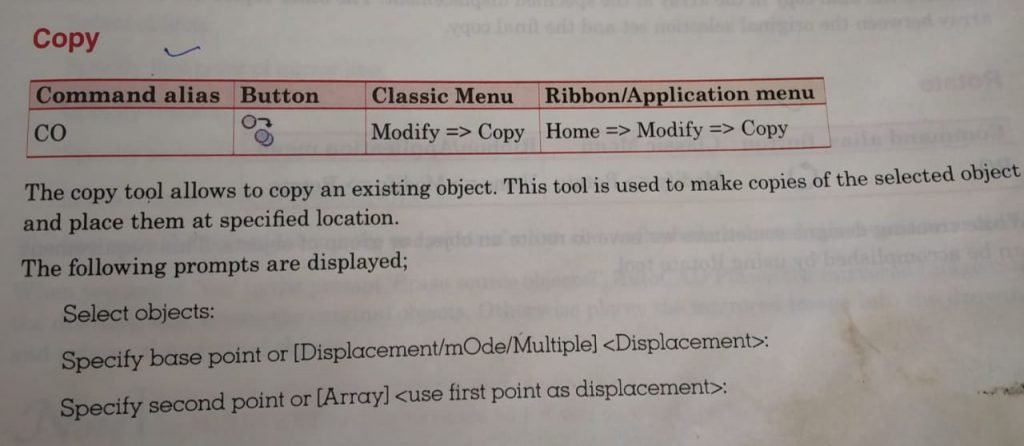
Copy
The copy tool allows to copy an existing object. This tool is used to make copies of the selected object and place them at specified location.
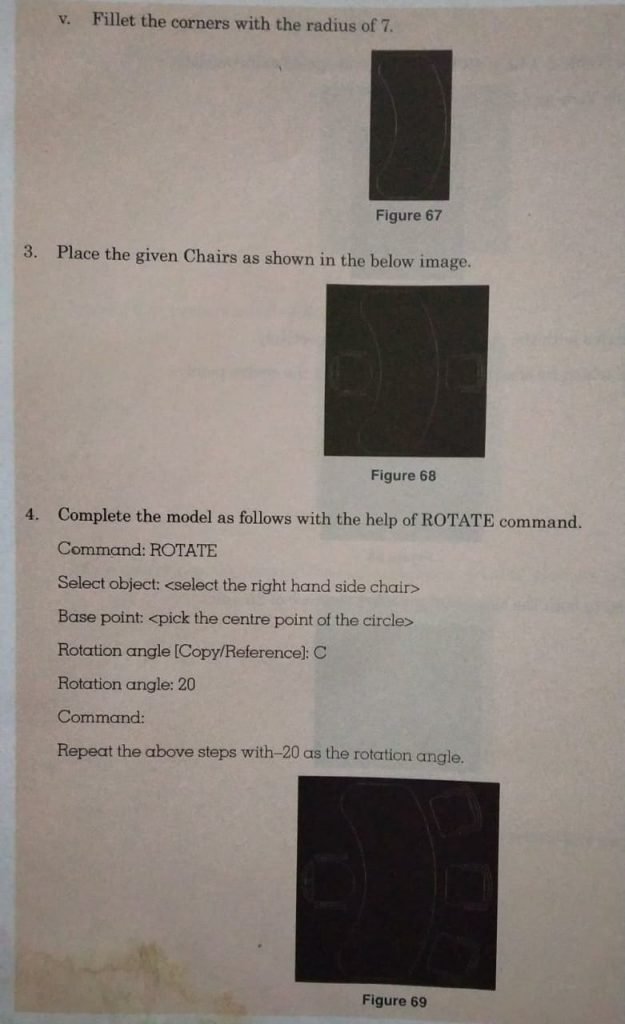
Rotate


Mirror
| Command alias | Button | Classic Menu | Ribbon/Application Menu |
| MI | Click on Mirror button | Modify => Mirror | Home => Modify => Mirror |
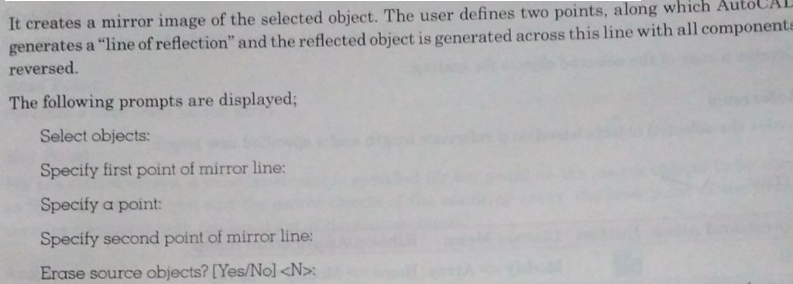
Note: By default, when you mirror a text object, the direction of the text is not changed. Set the MIRRTEXT system variable to 1 if you do want the text to be reversed too.
Scale

Chapter 3 Video 5 AutoCad Course
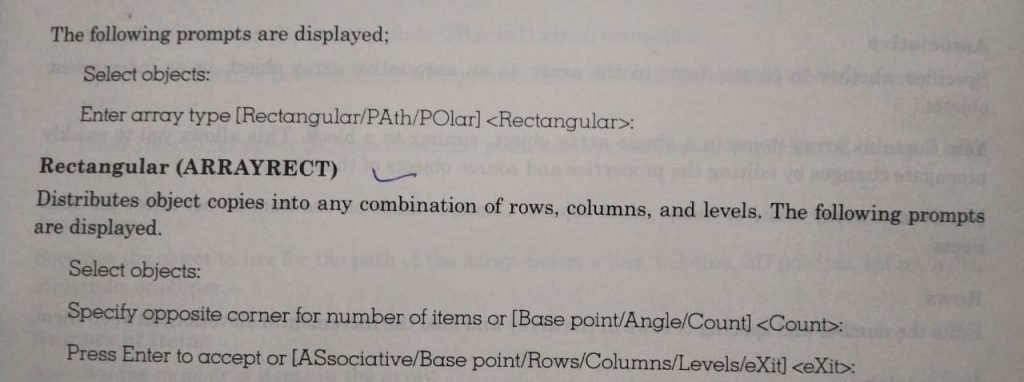
Array



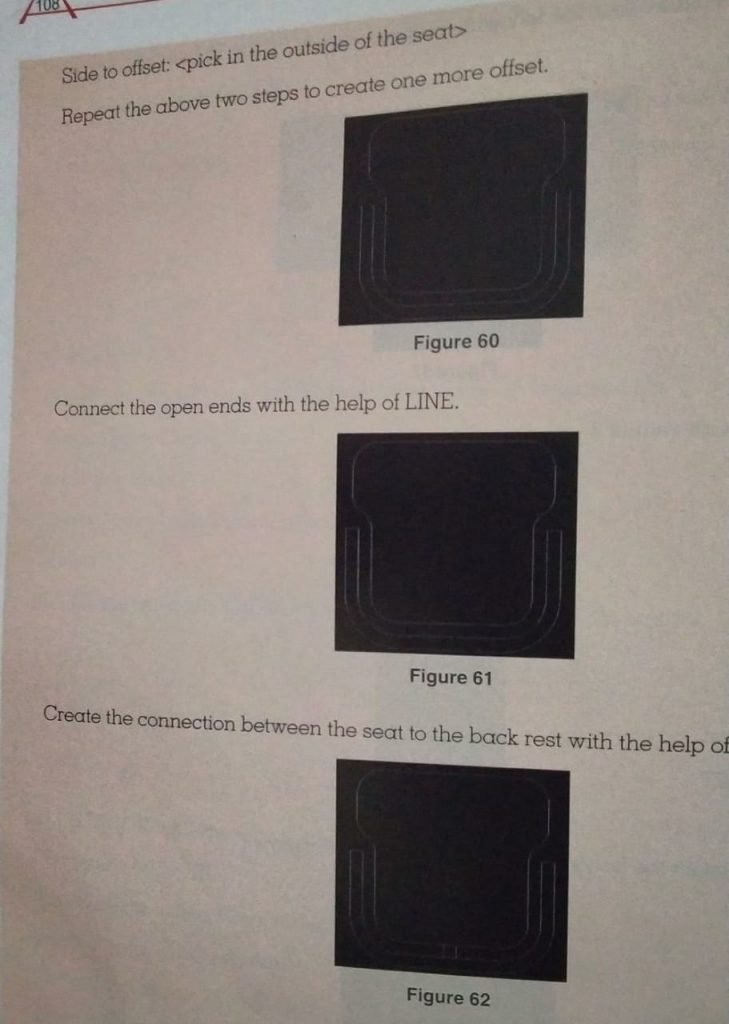
Offset

| Command alias | Classic Menu | Ribbon/Application menu |
| O | Modify => Offset | Home => Modify => Offset |

Stretch

The following prompts are displayed;
Select objects to stretch by crossing-window or crossing-polygon..
Select objects:
Specify base point or [Displacement]<last displacement>:
Specify second point or <use first point as displacement>:
Specify displacement <last value>:
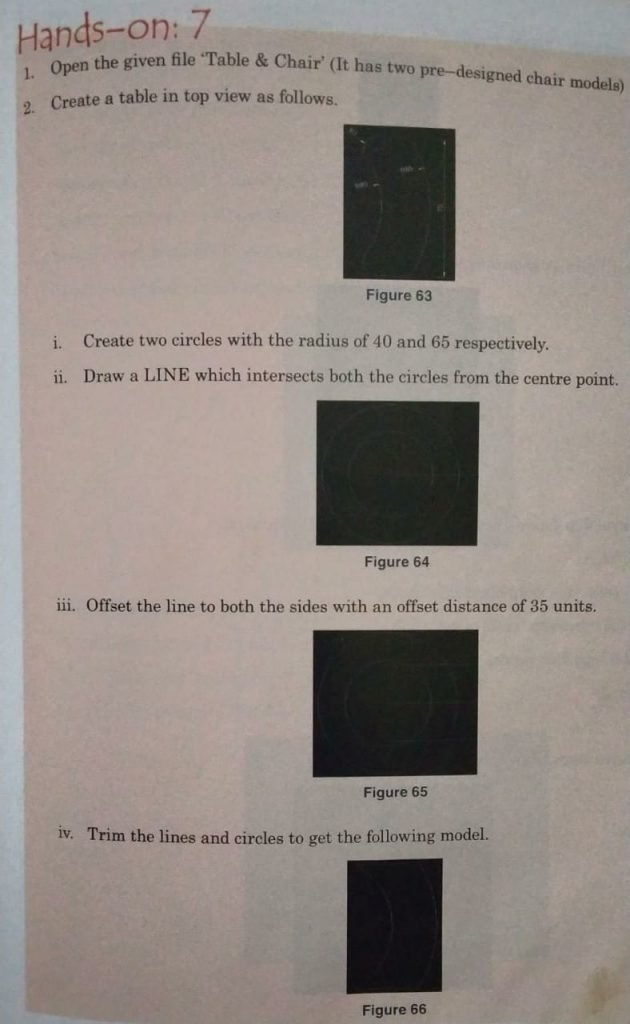
Trim


Extend
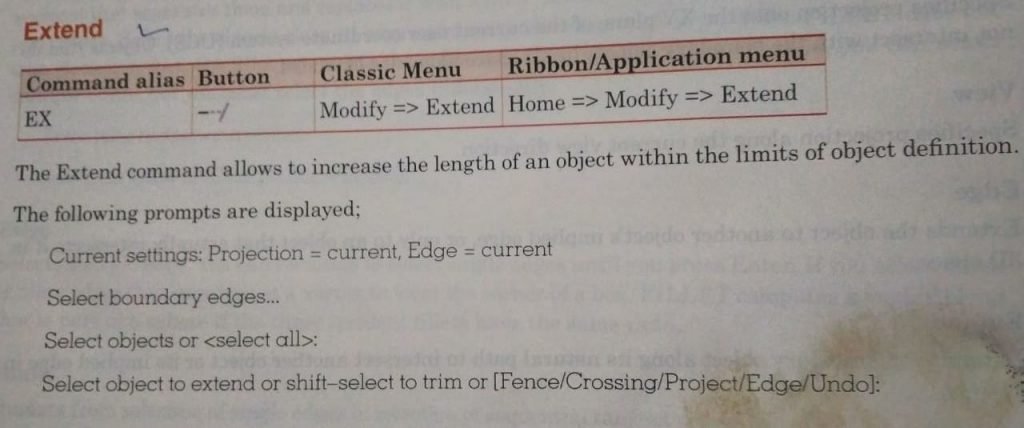
Fillet
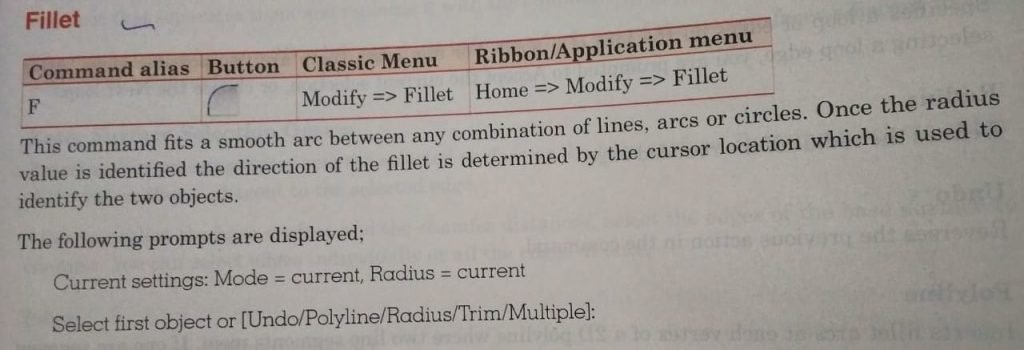
Chamfer
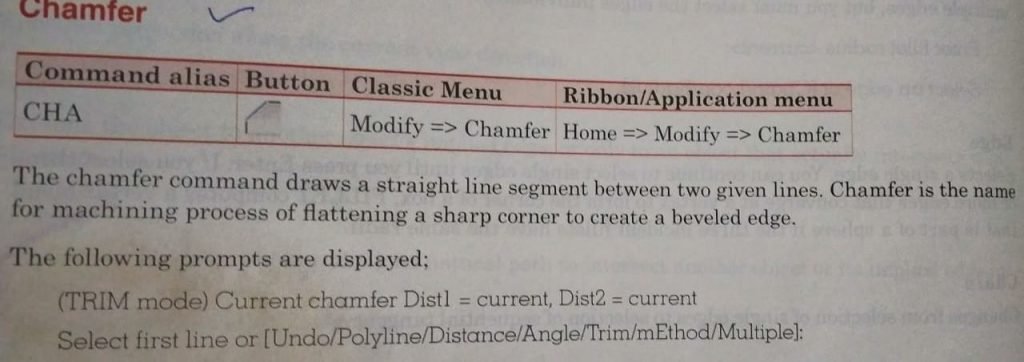
Chapter 3 Video 6 AutoCad Course
Break
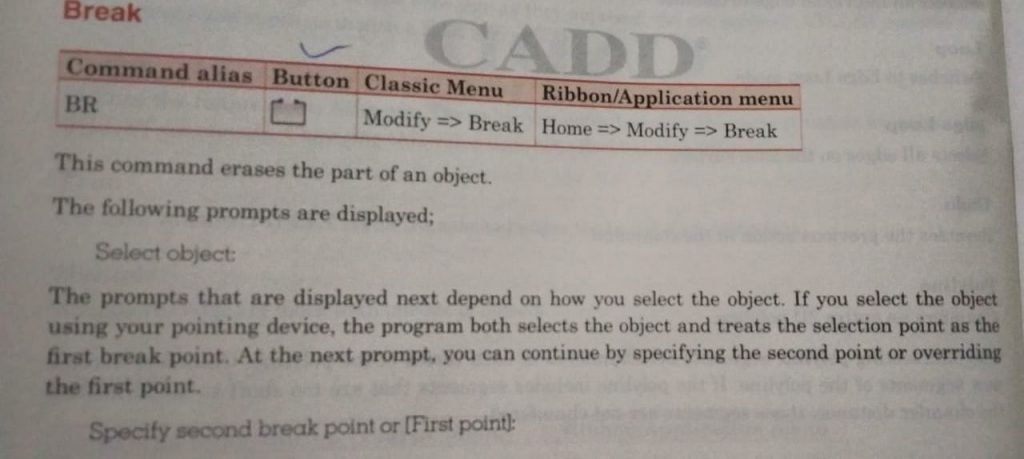
Join

This command joins the endpoints of linear and curved objects to create a single object. The following prompts are displayed;
Select source object or multiple objects to join at once:
Solid

Donut

This command creates a filled circle or a wide ring. The following prompts are displayed;
Specify inside diameter of donut<current>:
If you specify inside diameter of 0, the donut becomes a filled circle.
Specify outside diameter of donut <current>:
Specify center of donut or <exit>:
Fill

Revcloud

ISOMETRIC VIEWS
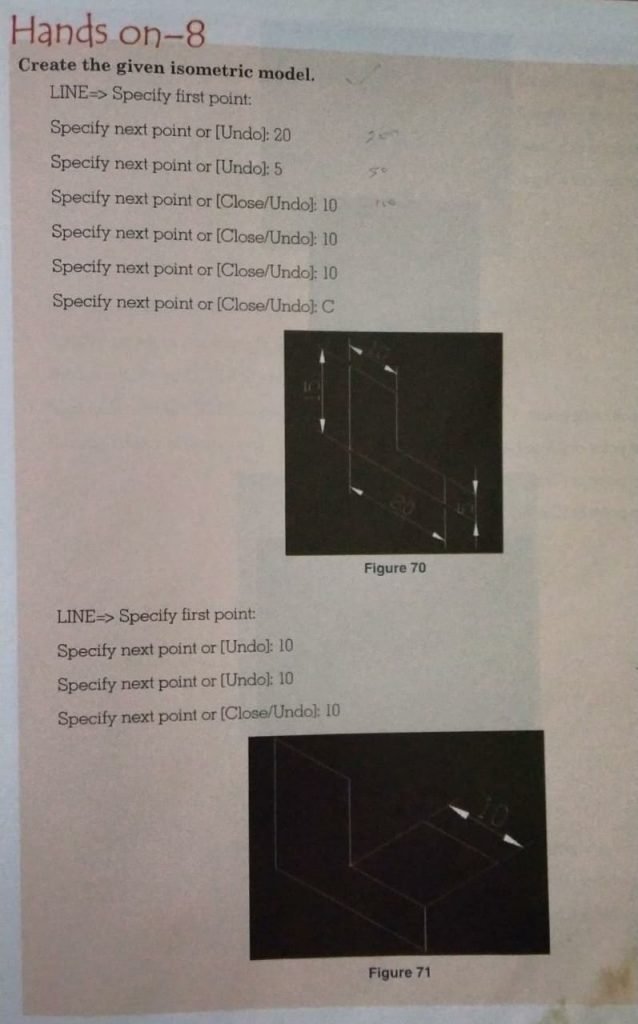
The most common type of pictorial drawing used in the drafting industry is the isometric drawing. This supplement focuses on tools and drawing aids that help you create 2D isometric views that look 3D, as if the object tilts toward you. However, a 3D model provides a better way to display isometric views, for most applications.
The Isometric Snap/Grid mode helps you create 2D isometric images that represent 3D objects. The Isometric Snap/Grid mode helps you create 2D images that represent 3D objects. By setting the Isometric Snap/Grid, you can easily align object along one of three isometric planes; the isometric to extract 3D distances and areas, display objects from different viewpoint or remove hidden lines automatically.
The term isometric means equal (iso) measure (metric). An isometric drawing has no perspective, and therefore edges that are equal in length are drawn equal in length. The angles between the three principle planes and edges of an object are equal. The vertical edges of an object are parallel to each other and form measurable isometric lines 90 degree from horizontal. The horizontal edges of an object are parallel to each other and form measurable isometric lines 30 degree from horizontal. All other lines are nonisometric lines.
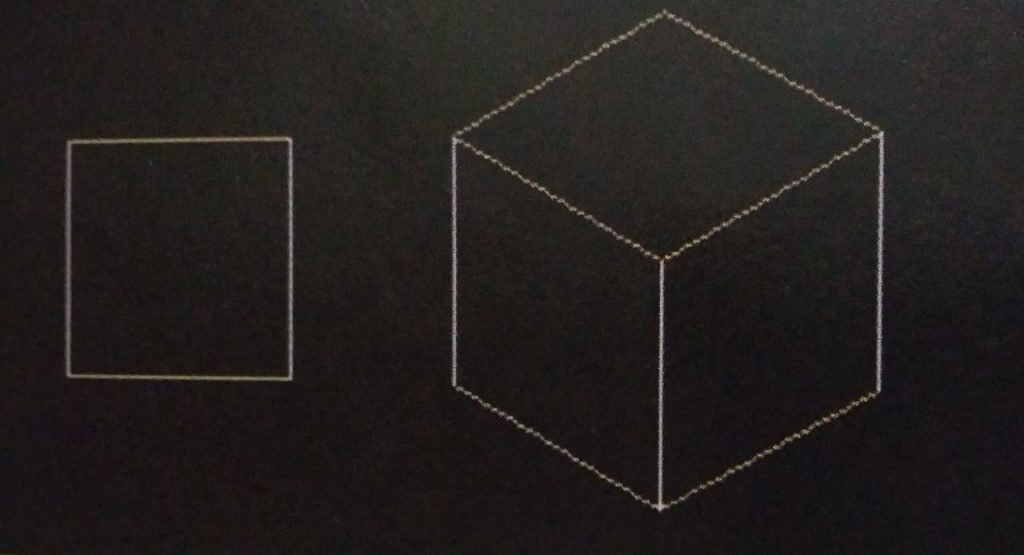
Note:
- When using Isometric snap, the crosshairs is always oriented with the specified isoplane. The isoplane does not apply to window or crossing selection and similar operations that use a box to make a selection.
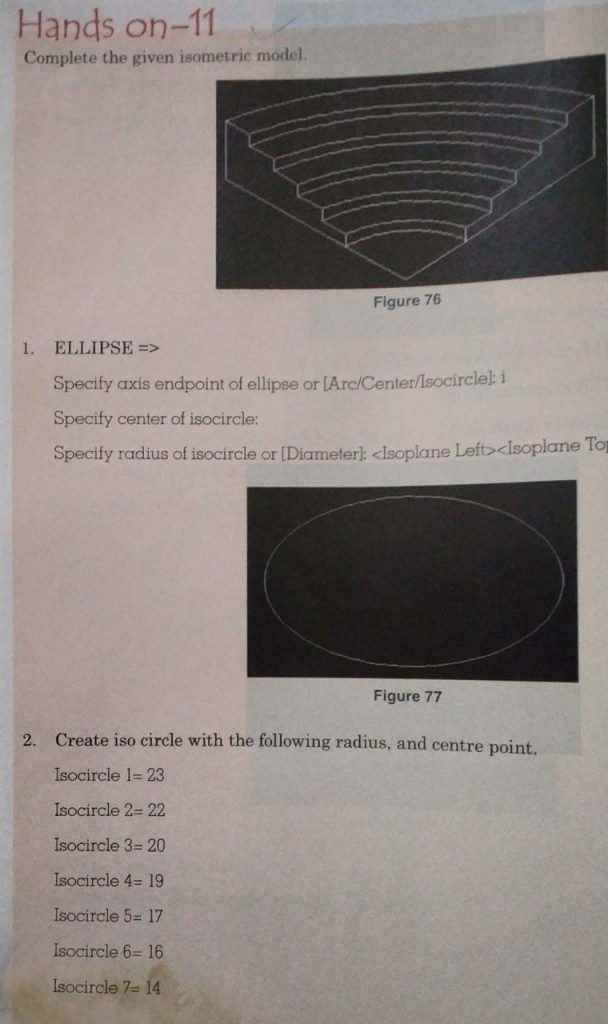
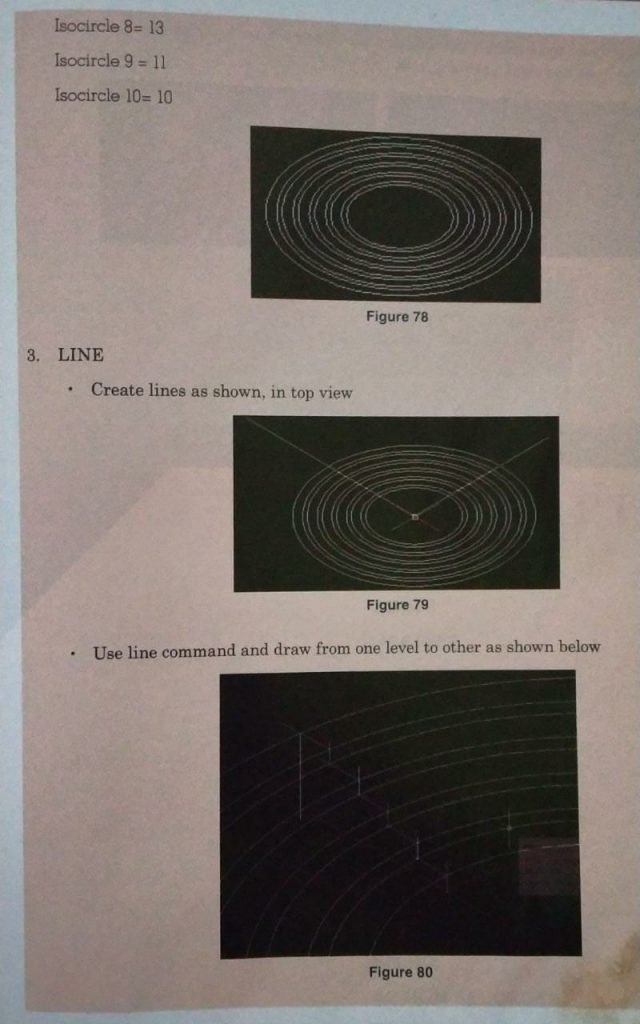
- To represent concentric circles, draw another ellipse with the same center rather than offsetting the original ellipse, Offsetting produces an oval-shaped spline that does not represent foreshortened distances as you would expect.
Select
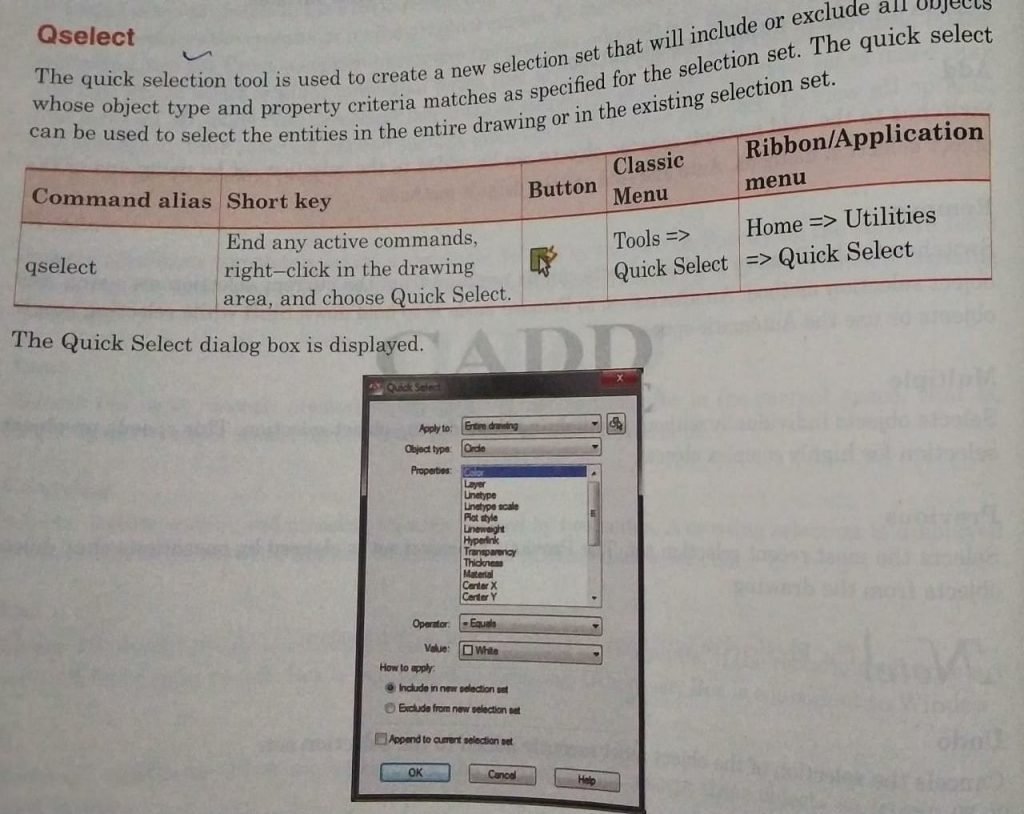
Qselect
PERSPECTIVE VIEWS
Perspective projection
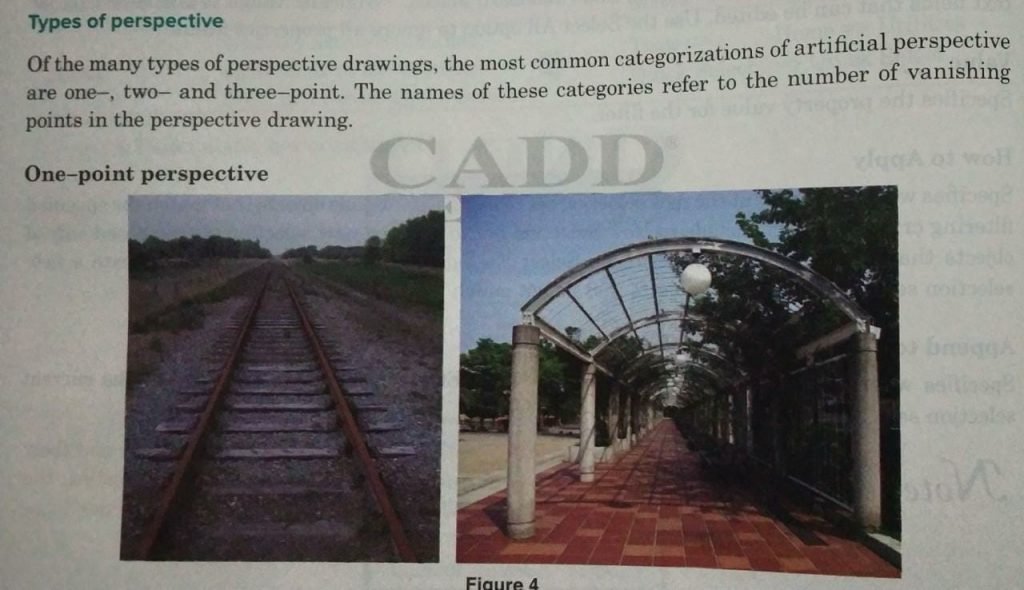
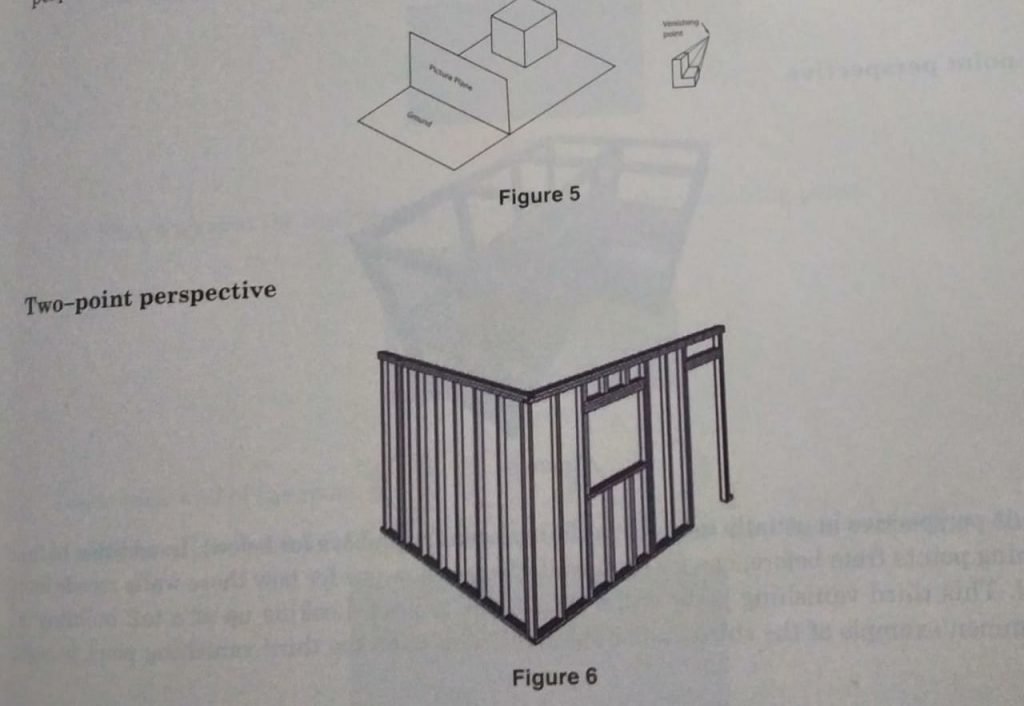
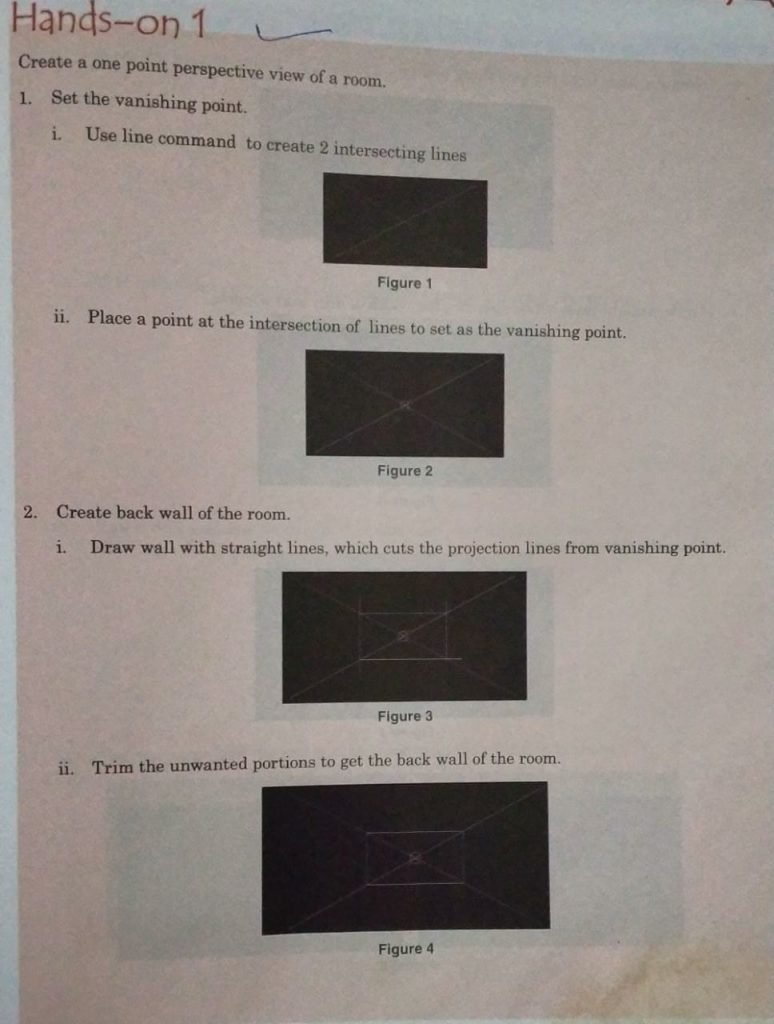
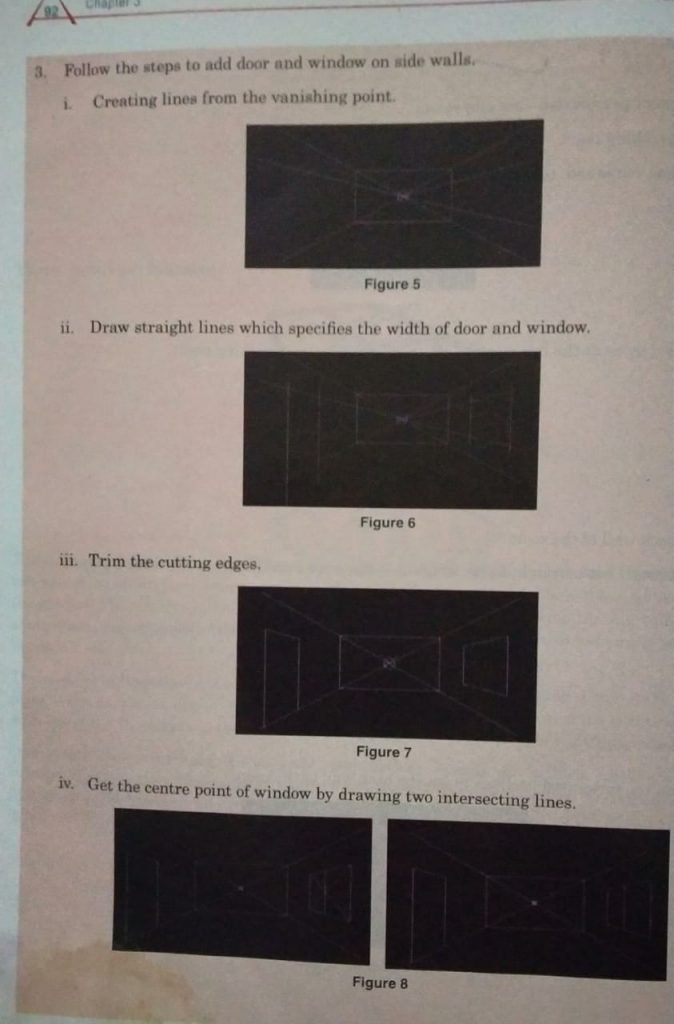
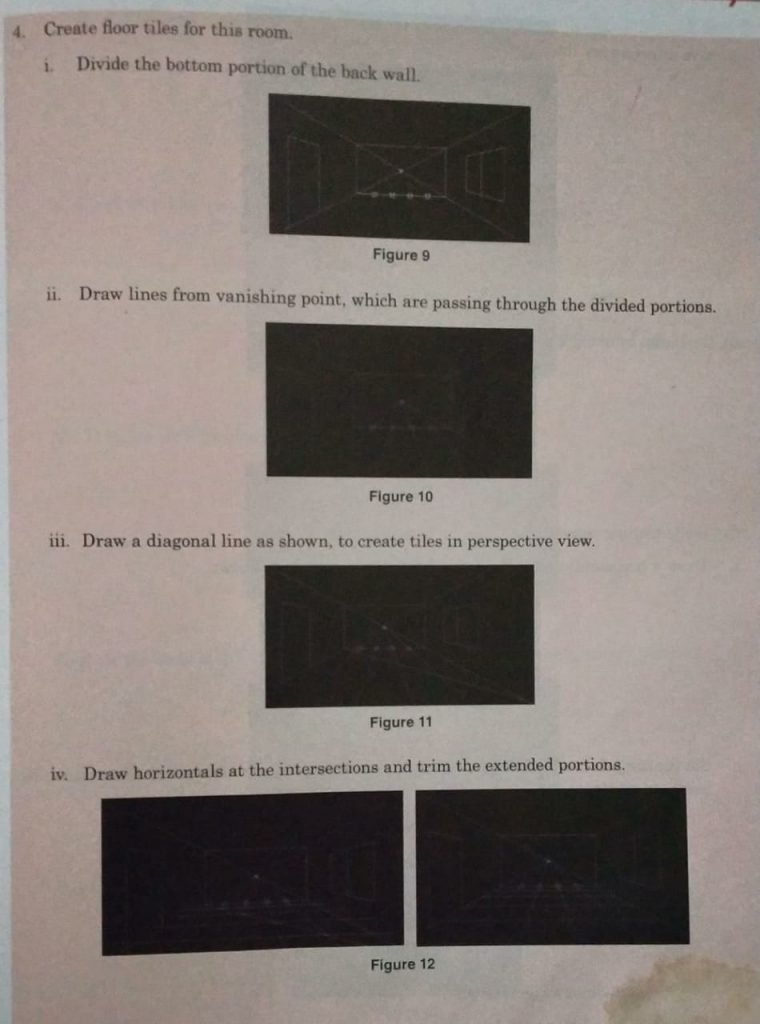
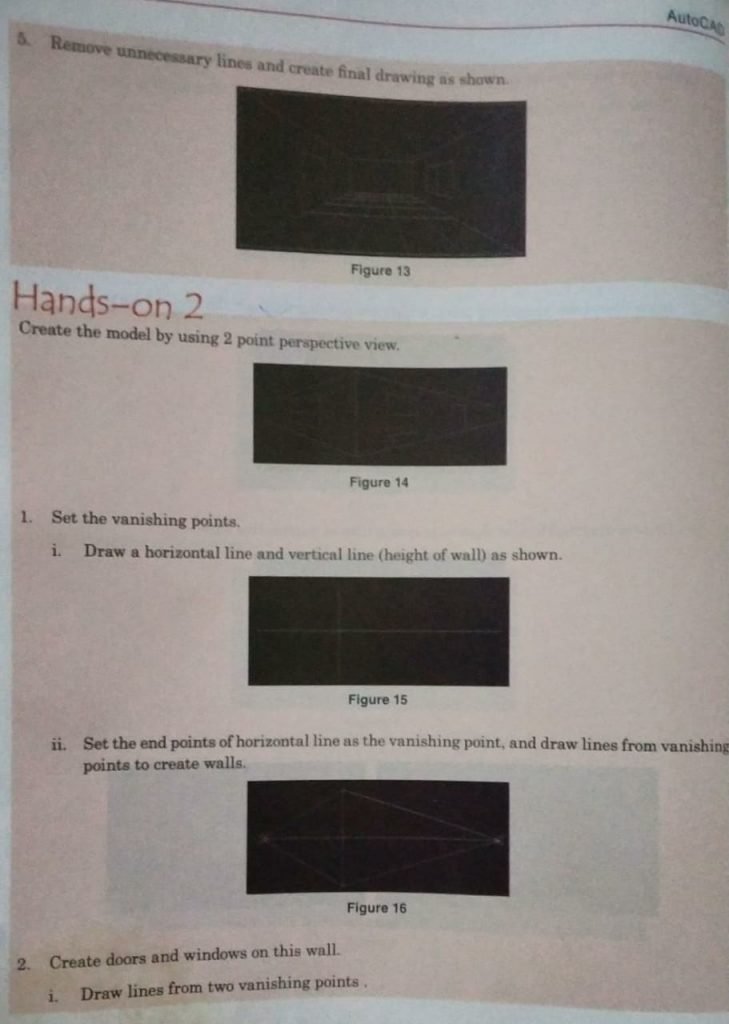
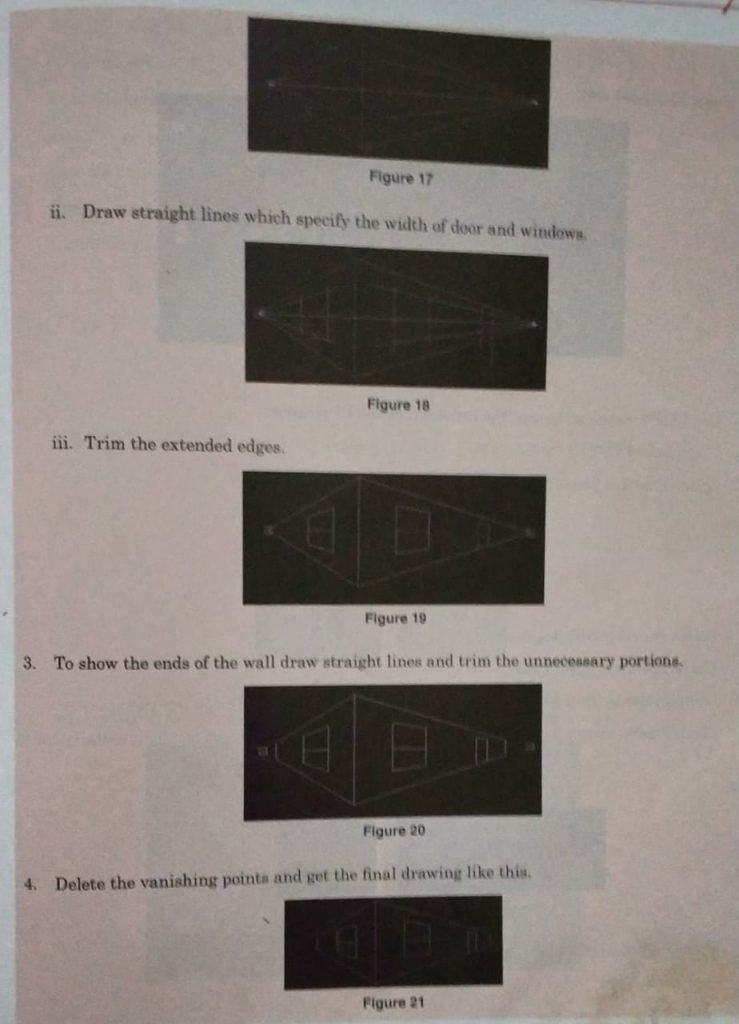
Perspective projection is the complete projection model of a scene into an image plane via a pinhole camera model. The perspective projection of any set of parallel lines which are not parallel to the projection plane converge to a vanishing point. In 3D, the parallel lined meet only at infinity and there is infinity of vanishing points, one for each of the infinity of directions in which a line can be oriented. Properties of the perspective projection are listed out here,
- Drawing an object as it appears to the human eye or as it in the photograph.
- This is not in true shape of the object.
- The size of the projection depends on the object’s position from the picture plane.
- The more the distance between the picture plane and the object, smaller the size of the projection.


Related link you must like:-
Study material for Competition Exam
Mohd. Sharif Qualification: B.Tech (Mechanical Engineering) [Founder of Wisdom Academy] [Aim Foundation & Free-Education.In] [Engineer By Profession | Teacher By Choice] [Blogger, YouTube Creator]

